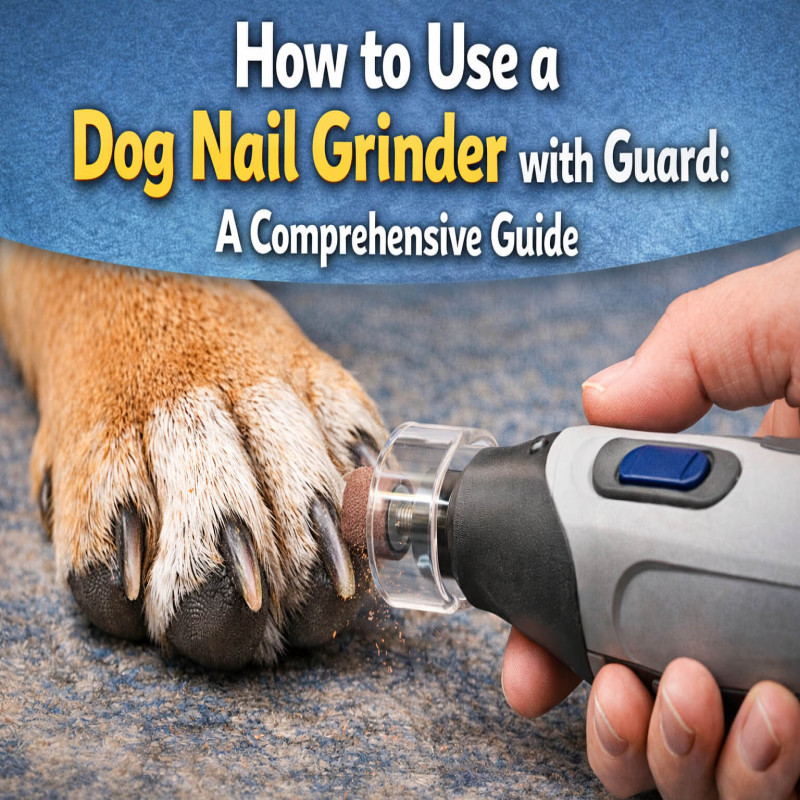
Using a dog nail grinder with a guard is an excellent way to maintain your furry friend’s nail health. It ensures a safe and stress-free grooming experience for both you and your pet. In this guide, we’ll explore the process step-by-step, so you can confidently use a nail grinder with a guard for your dog.
What Is a Dog Nail Grinder with a Guard?
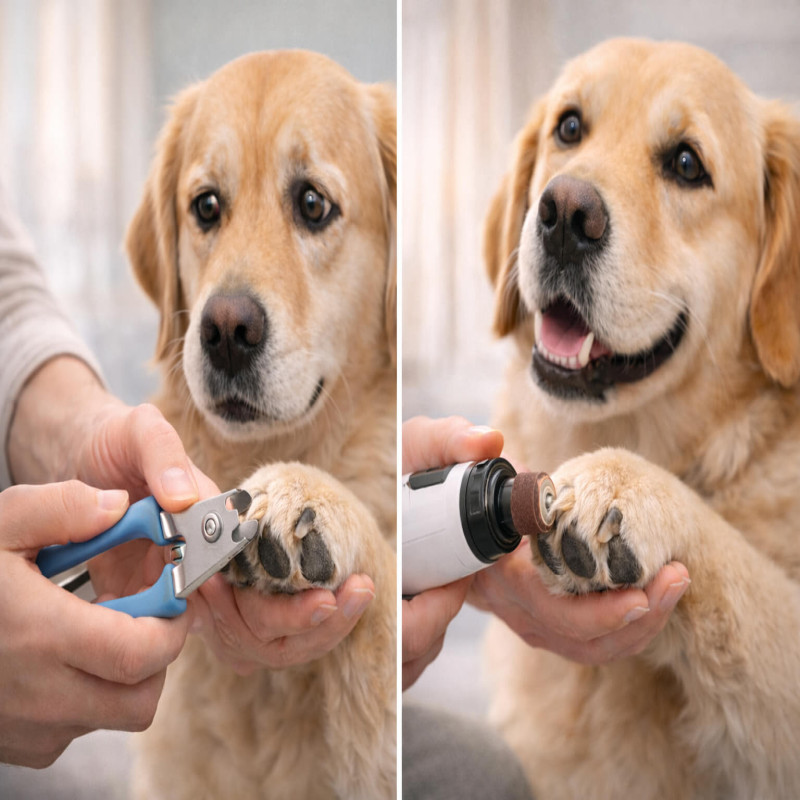
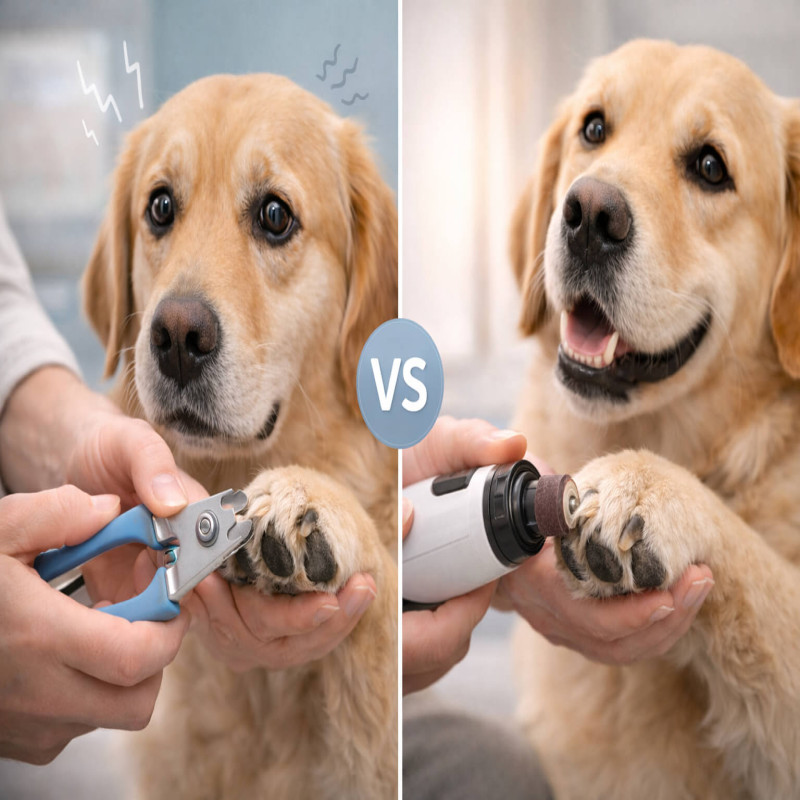
A dog nail grinder with a guard is an electronic grooming tool designed to safely file down a dog’s nails. The guard acts as a protective barrier, preventing over-grinding and ensuring only a small portion of the nail is trimmed at a time. This tool is handy for pets who are anxious about traditional nail clippers.
Step 1: Gather Your Tools
Before starting, make sure you have everything ready:
- Dog Nail Grinder with Guard: Choose a high-quality model with adjustable speed settings.
- Dog Treats: Keep treats handy to reward your dog for good behavior.
- Towel or Blanket: This can help your dog feel secure.
- Styptic Powder: In case you accidentally grind too close to the quick.
- Lighting: A well-lit area ensures precision and safety.
Step 2: Get Your Dog Comfortable
Start by introducing your dog to the grinder:
- Familiarize Them: Let your dog sniff the grinder while it’s turned off.
- Turn It On: Turn on the grinder so your dog can hear its sound. Reward them with a treat if they stay calm.
- Touch Without Grinding: Gently touch the grinder to your dog’s nails without activating it. This helps them get used to the sensation.
Step 3: Inspect Your Dog’s Nails
Examine your dog’s nails before starting:
- Locate the Quick: The quick is the pink area inside the nail that contains blood vessels and nerves. Avoid grinding into this area.
- Assess Nail Length: If the nails are long, you may need to grind in small increments.
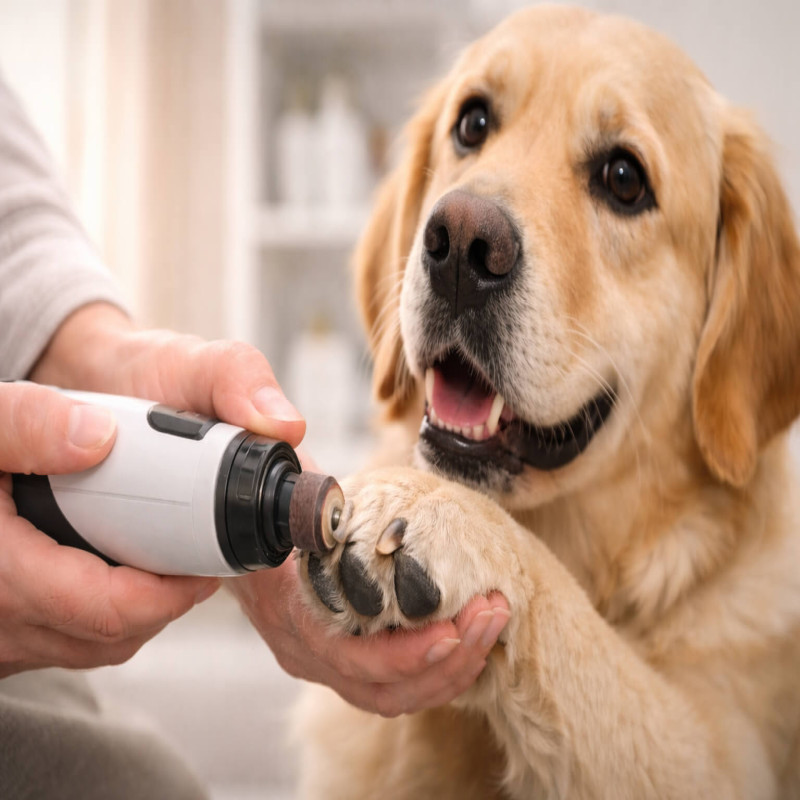
Step 4: Start Grinding
Once your dog is calm and you’re ready, begin grinding:
- Hold the Paw Gently: Use your non-dominant hand to hold the paw securely but gently.
- Position the Grinder: Place the grinder against the nail tip, ensuring the guard is properly aligned.
- Use Short Sessions: Grind for 2-3 seconds at a time to avoid overheating the nail.
- Check Frequently: Pause to check your progress and ensure you’re not nearing the quick.
Step 5: Reward and Repeat
After completing each paw, reward your dog with praise and treats. Positive reinforcement helps your dog associate nail grinding with a pleasant experience.
Tips for Success
- Be Patient: If your dog is nervous, take breaks and try again later.
- Maintain Regularity: Trim your dog’s nails every 2-3 weeks to keep them at a healthy length.
- Keep the Grinder Clean: Wipe down the grinder after each use to remove nail dust.
Common Mistakes to Avoid
- Skipping the Guard: Always use the guard to prevent over-grinding.
- Rushing the Process: Take your time to ensure safety and comfort.
- Ignoring Your Dog’s Cues: If your dog shows signs of stress, stop and try again another day.
Following these steps, you can confidently use a dog nail grinder with a guard to keep your pet’s nails healthy and well-groomed. This tool is a game-changer for pet owners, making nail care easier and safer than ever.
Meet Your Guide

Go Soundproof Team
The Go Soundproof Team is a group of soundproofing enthusiasts and product testers dedicated to helping you create quieter, more peaceful spaces. We review and test the latest quiet appliances and noise-reducing solutions to provide honest, expert advice you can trust.