
Maintaining your dog's nails is an essential part of their overall health and well-being. Overgrown nails can cause discomfort, difficulty in walking, and even lead to long-term issues such as joint problems. One effective way to trim your dog’s nails is by using a Dremel tool. This guide will walk you through the process of grinding your dog’s nails with a Dremel in a safe and stress-free manner.
Understanding the Dremel Tool
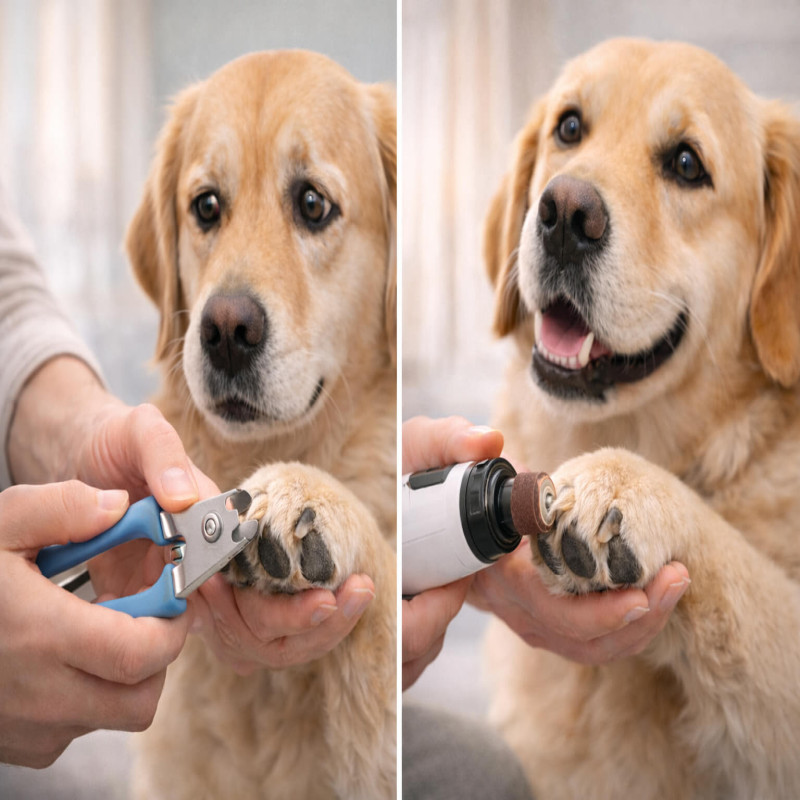
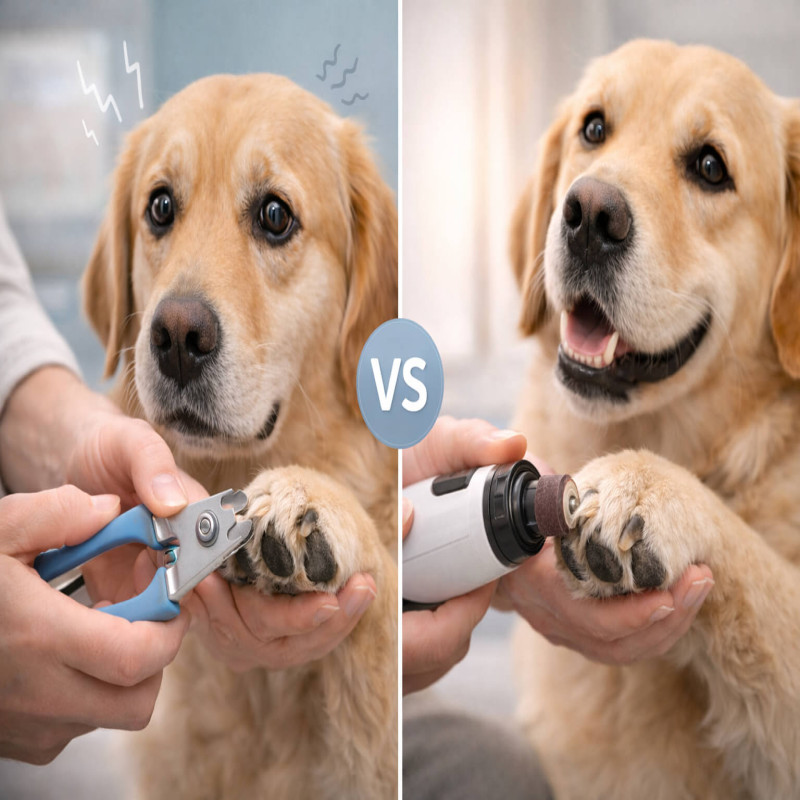
A Dremel is a rotary tool that can be equipped with a grinding bit to smooth and shorten your dog’s nails. Unlike traditional clippers, which can crush the nail, a Dremel grinds it down gradually, offering greater control and reducing the risk of cutting the quick—the sensitive part of the nail containing nerves and blood vessels.
Benefits of Using a Dremel
- Precision: Allows for gradual trimming, reducing the chances of injuring your dog.
- Smooth Finish: Leaves the nails smooth, preventing scratches on floors or skin.
- Less Pressure: Ideal for dogs who are nervous about clippers.
Preparing to Grind Your Dog’s Nails
Before you begin, preparation is key to ensuring a positive experience for both you and your dog.
Gather Your Supplies
- A Dremel tool with a grinding attachment
- Dog nail grinder bits (specific for pets)
- Styptic powder (to stop bleeding in case of accidents)
- Treats for positive reinforcement
- A towel or non-slip mat for your dog to stand on
- Optional: Ear protection for sensitive dogs
Familiarize Your Dog with the Dremel
- Start Slowly: Introduce the Dremel to your dog without turning it on. Let them sniff it and get comfortable.
- Turn It On Nearby: Allow your dog to hear the sound while rewarding them with treats.
- Touch Their Paws: Handle their paws gently to get them used to the sensation.
Step-by-Step Guide to Grinding Dog Nails with a Dremel
Set Up a Comfortable Space
Choose a quiet, well-lit area where your dog feels secure. Place a towel or non-slip mat on the floor to keep them stable.
Inspect Your Dog’s Nails
Check the length of the nails and locate the quick. In light-colored nails, the quick appears as a pink area. For darker nails, trim cautiously to avoid cutting into it.
Position Your Dog
Have your dog lie down or sit in a comfortable position. If needed, ask a helper to gently hold your dog while you work.
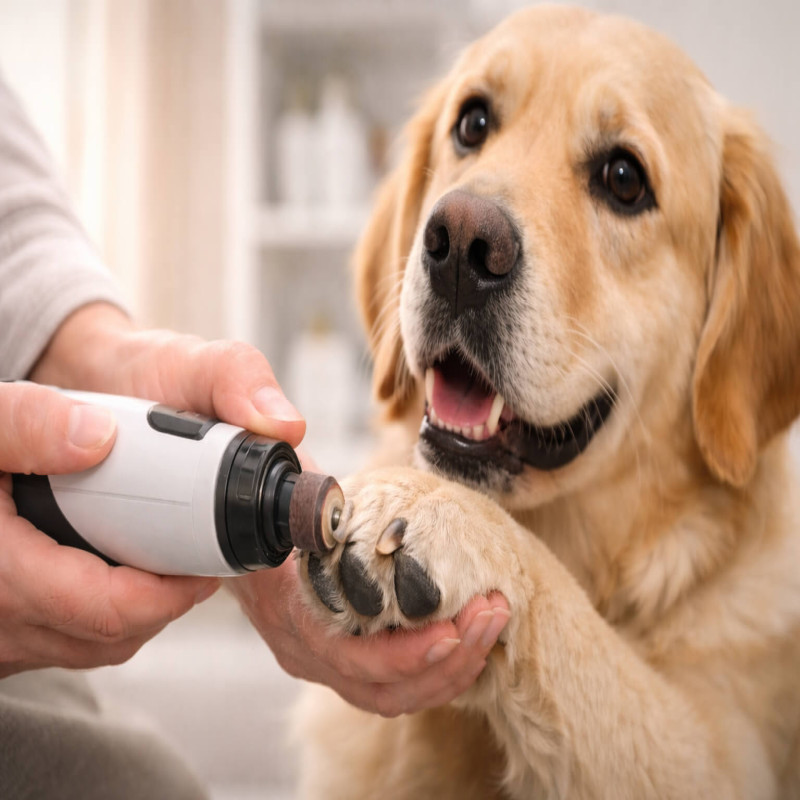
Begin Grinding
- Hold the Paw Firmly: Gently hold your dog’s paw and isolate one nail at a time.
- Start Slowly: Turn on the Dremel and touch it lightly to the tip of the nail.
- Work in Short Bursts: Grind the nail for 2-3 seconds at a time to avoid overheating.
- Smooth the Edges: Focus on rounding off sharp edges for a clean finish.
Monitor Your Progress
Stop frequently to check the nail’s length and avoid grinding too close to the quick. If you’re unsure, err on the side of caution.
Tips for Success
Use Positive Reinforcement
Reward your dog with treats and praise throughout the process to keep them calm and cooperative.
Keep Sessions Short
If your dog becomes anxious, stop and try again later. Gradual sessions are better than forcing the process.
Maintain the Dremel Tool
Clean the grinding bit regularly and replace it as needed to ensure optimal performance.
Troubleshooting Common Issues
Dog Resists the Dremel
- Gradually desensitize your dog to the tool by introducing it during playtime.
- Use high-value treats to create positive associations.
Grinding Too Close to the Quick
- Keep styptic powder on hand to stop bleeding if the quick is accidentally nicked.
- Take small amounts off the nail at a time to avoid accidents.
Overheating the Nail
Work in short bursts to prevent the nail from becoming too hot, which can cause discomfort.
By following these steps and tips, you can make nail grinding a positive and painless experience for your dog. Regular nail maintenance not only keeps your dog comfortable but also strengthens the bond between you and your furry friend.
Meet Your Guide

Go Soundproof Team
The Go Soundproof Team is a group of soundproofing enthusiasts and product testers dedicated to helping you create quieter, more peaceful spaces. We review and test the latest quiet appliances and noise-reducing solutions to provide honest, expert advice you can trust.